マイクロソフトクラリティーはヒートマップツールとして今後ますます導入が進むと思われる。
理由:
完全無料で使用できる
使用制限がなく、複数のサイト登録も可能
マイクロソフト社が展開しているサービスなので安心
レコーディング・充実したフィルタ機能等で詳細な分析が可能
今回は タグマネージャーを使った 詳細なクラリティー設定方法を紹介する。
https://clarity.microsoft.com/ にアクセス
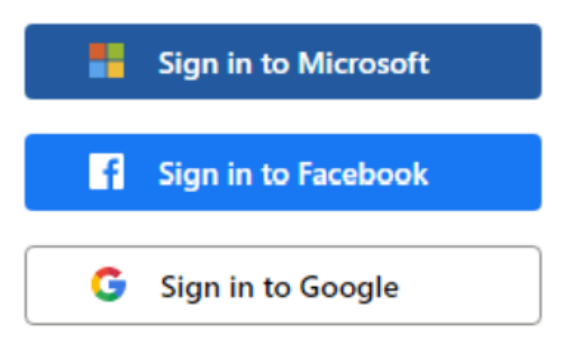
サインインの手段を選択します。
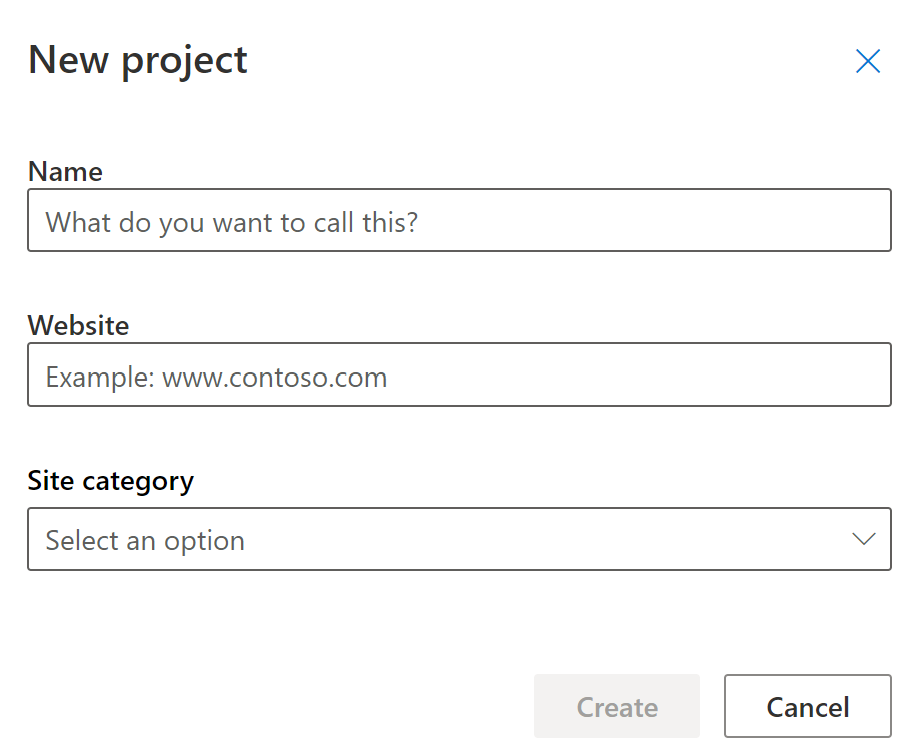
メールアドレスの登録後、ヒートマップを適用するサイトの URL 等を入力します。
*サイトのヒートマップ登録時には New Project の設定が必要です 。
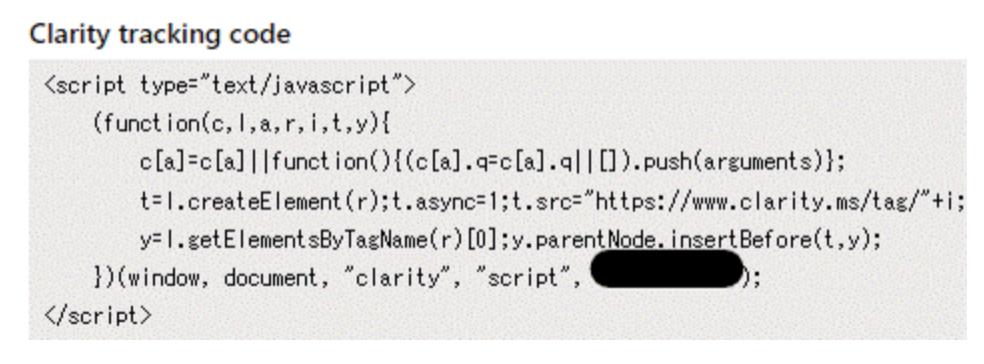
表示されたクラリティ スクリプトをコピーします。
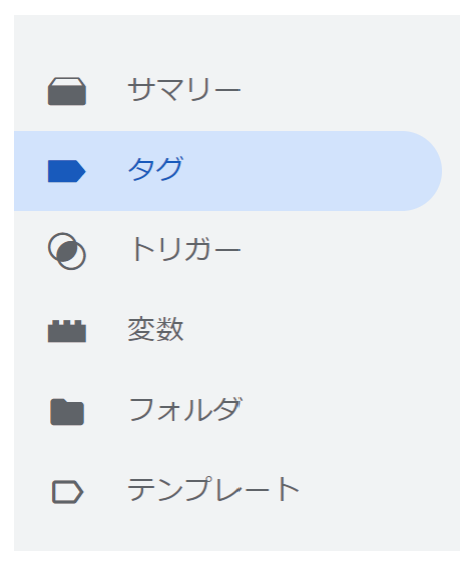
タグマネージャーに移動し、クラリティーのタグを設定します。 タグマネージャー の「タグ」クリック
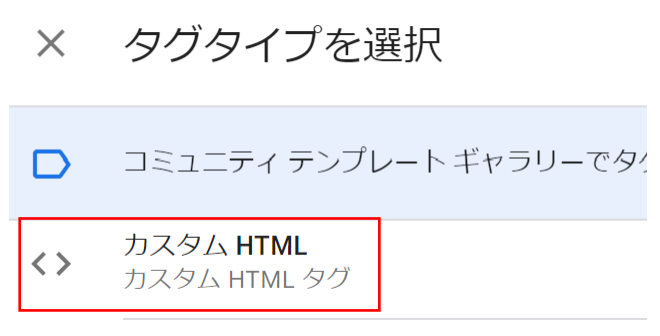
新規ボタン、タグ設定の鉛筆アイコンをクリックして、タグタイプの中から「カスタム HTML」を選択します

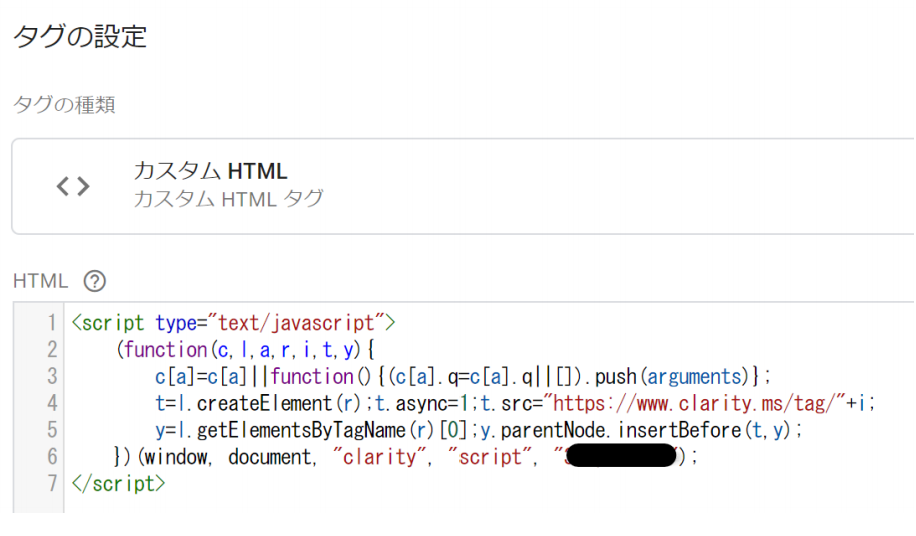
カスタム HTML の入力欄にコピーしたクラリティーのスクリプトをペーストします。
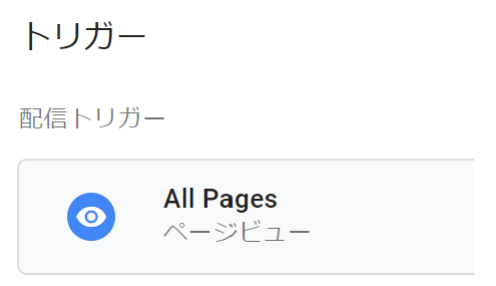
トリガーは All Pages です 。
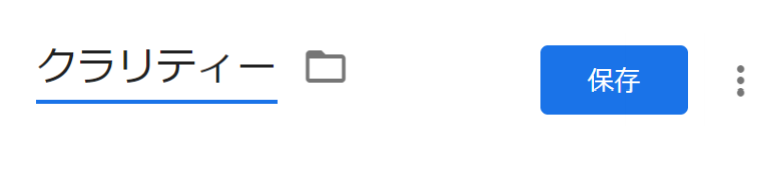
タグの名前を入力してタグを保存。
公開ボタンをクリックします。

タグマネージャーでの設定は以上です。 クラリティーへ戻り、続行ボタンをクリックします。
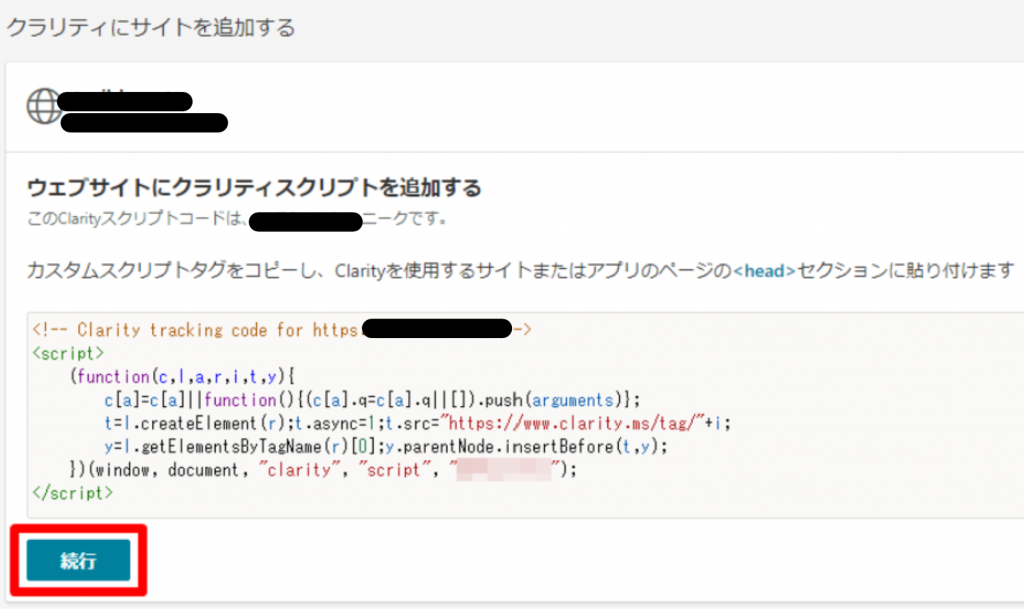
「サイトがクラリティ プロジェクトに追加されました」と表示されていることを確認 し、「Clarity に移動」をクリックします。

指定した手段でサインインを行います。
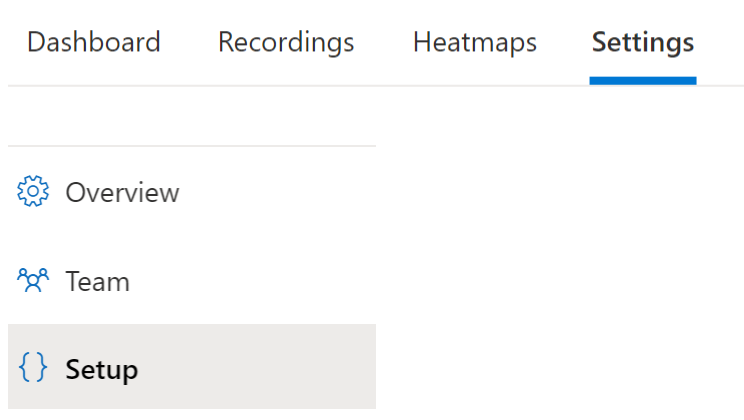
Settings、SetUp からアナリティクス連携
*この内容はUA(ユニバーサルアナリティクス)を前提としています。
*GA4の連携方法 についてはこちら。
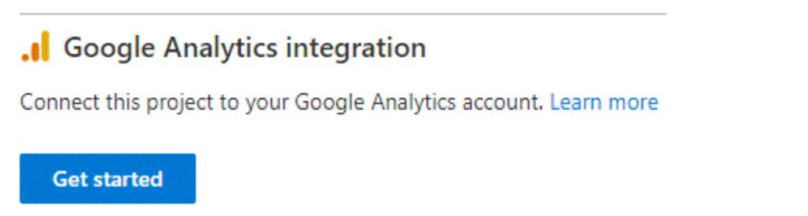
Get Started ボタンをクリックします。 *連携する際はアナリティクスの該当アカウント・プロパティー等を確認してください 。
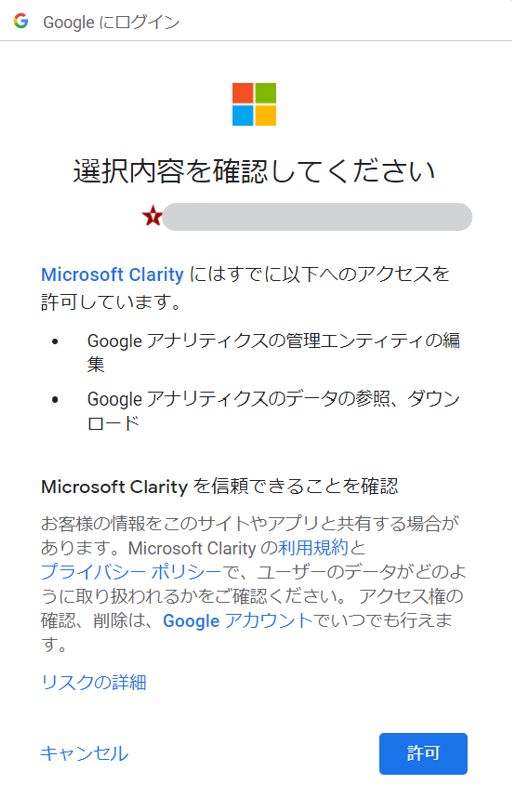
アナリティクスのアカウントを選択します。
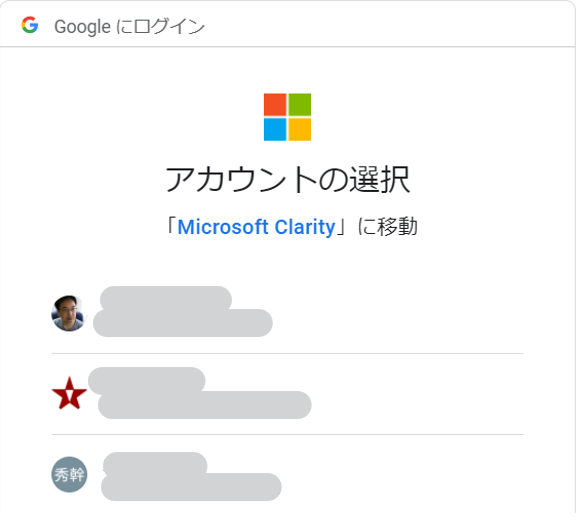
選択後、許可クリック。
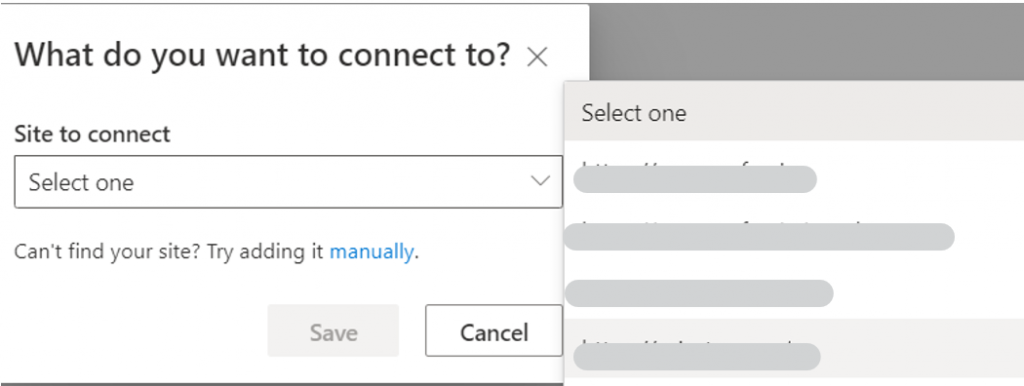
アナリティクスのプロパティーを選択します。
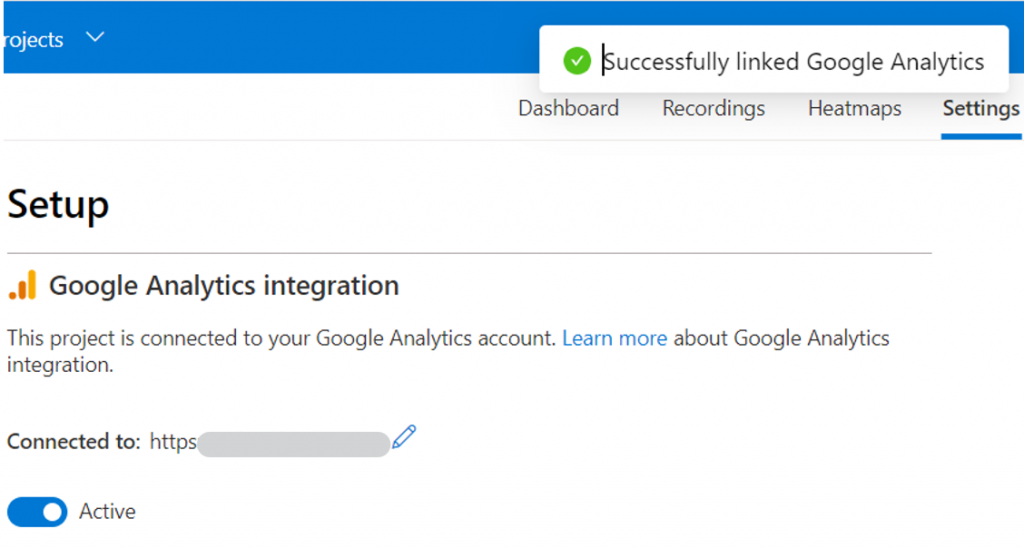
Successfully linked Google Analytics がでたら完了です。
クラリティーFAQ(英語)
https://docs.microsoft.com/en-us/clarity/faq