ここではBigQuery(BQ)とは何か?それ自体の設定については触れない。GA4とBQの設定にフォーカスして説明する。
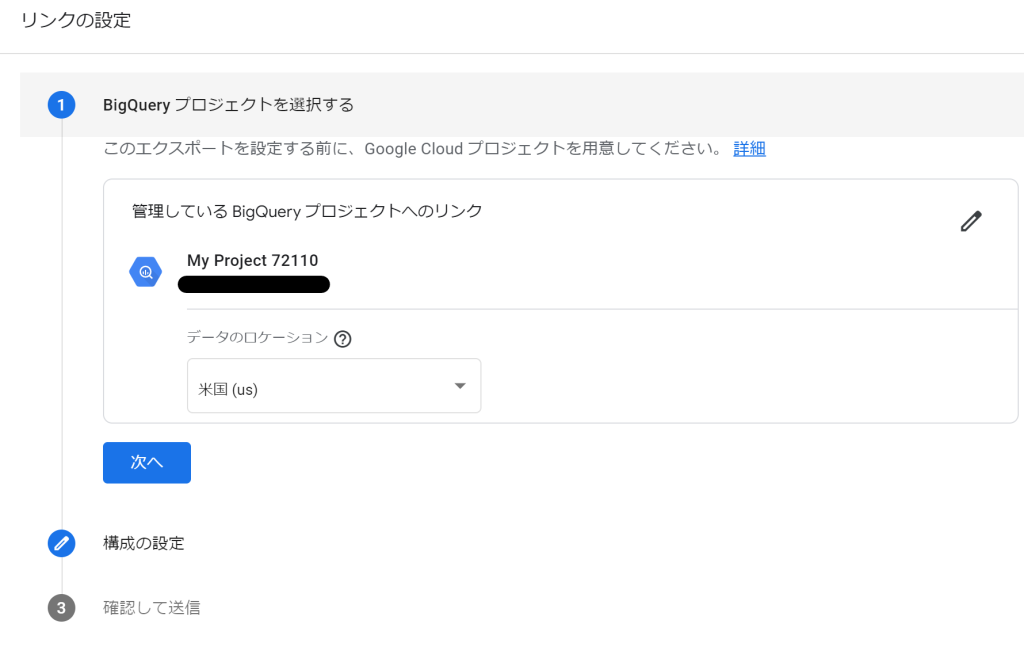
* BQで設定したロケーションはGA4連携で必要となるのでメモを忘れずに。
BQに興味のある方は「Google Cloud Platform実践ビッグデータ分析基盤開発 ストーリーで学ぶGoogle BigQuery」をお勧めします。
*少し慣れた方はアナリティクス4とBigQueryとシンプルなSQLにトライしてみよう。
まずは、Google Cloud Platform (GCP)で新規プロジェクトを作成する。
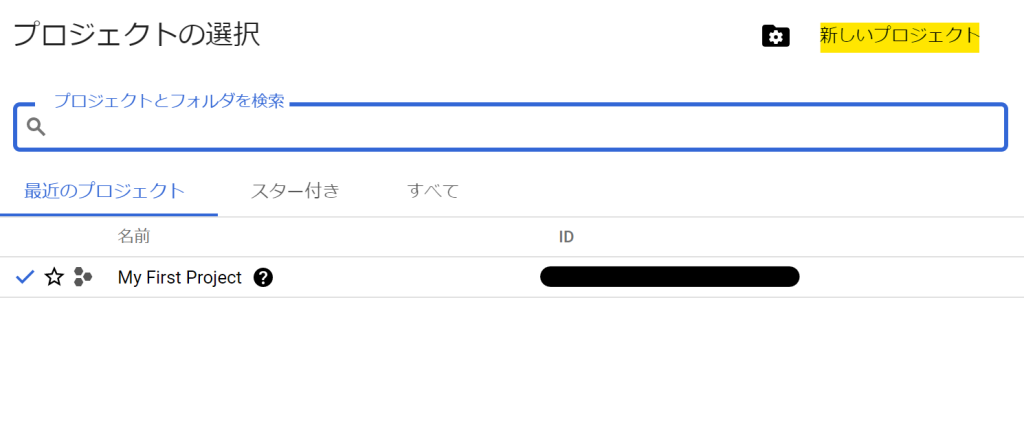
*無料トライアル登録時に自動生成されるプロジェクト(My First Project)を利用しても問題ありませんが、ここではあえて、それとは別プロジェクトを新規作成します。
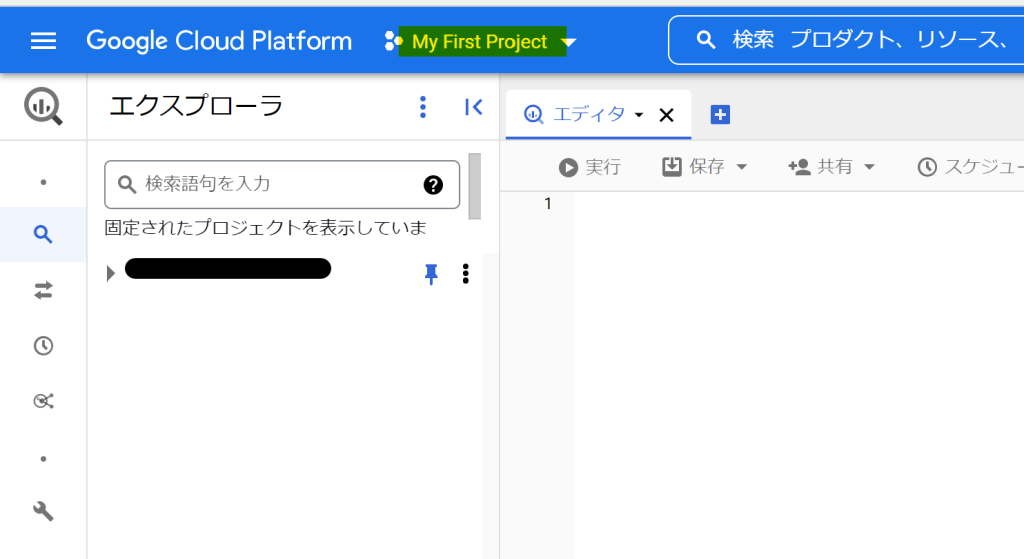
My First Project をクリック
新しいプロジェクトをクリック
プロジェクト名入力
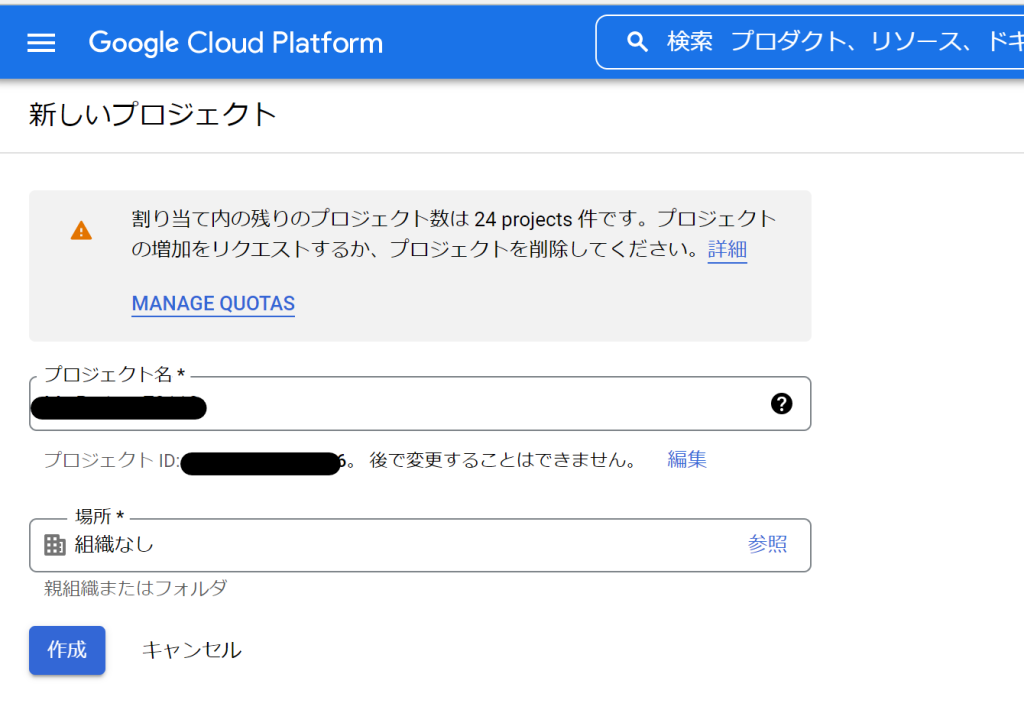
*「組織なし」でもプロジェクトは作成可能。GSuite( Google Workspace )で管理しているドメイン(会社のドメイン)でプロジェクトを作成すると、設定にもよりますがそのGSuiteの組織にてプロジェクトが作られます。
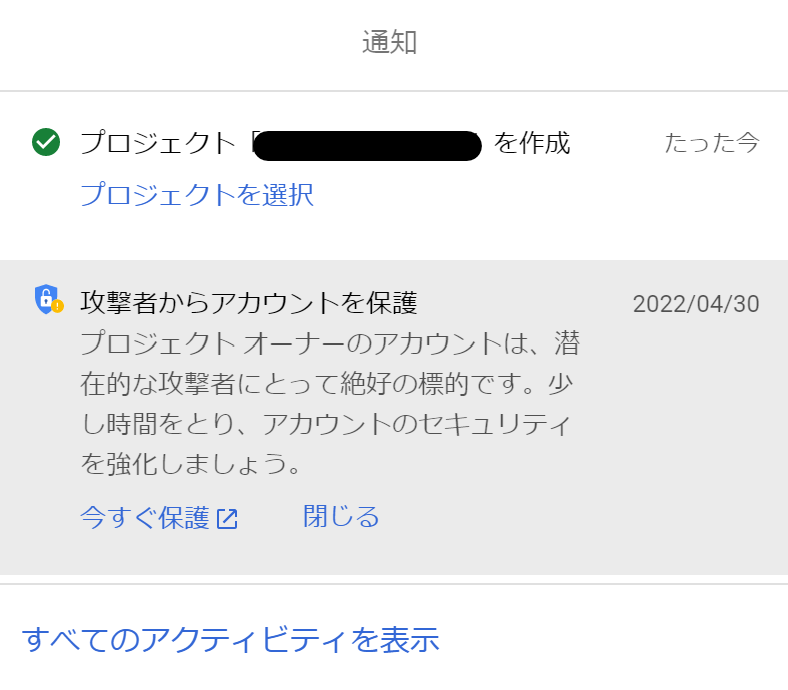
通知のポップアップ表示
当該プロジェクト APIとサービスからライブラリ
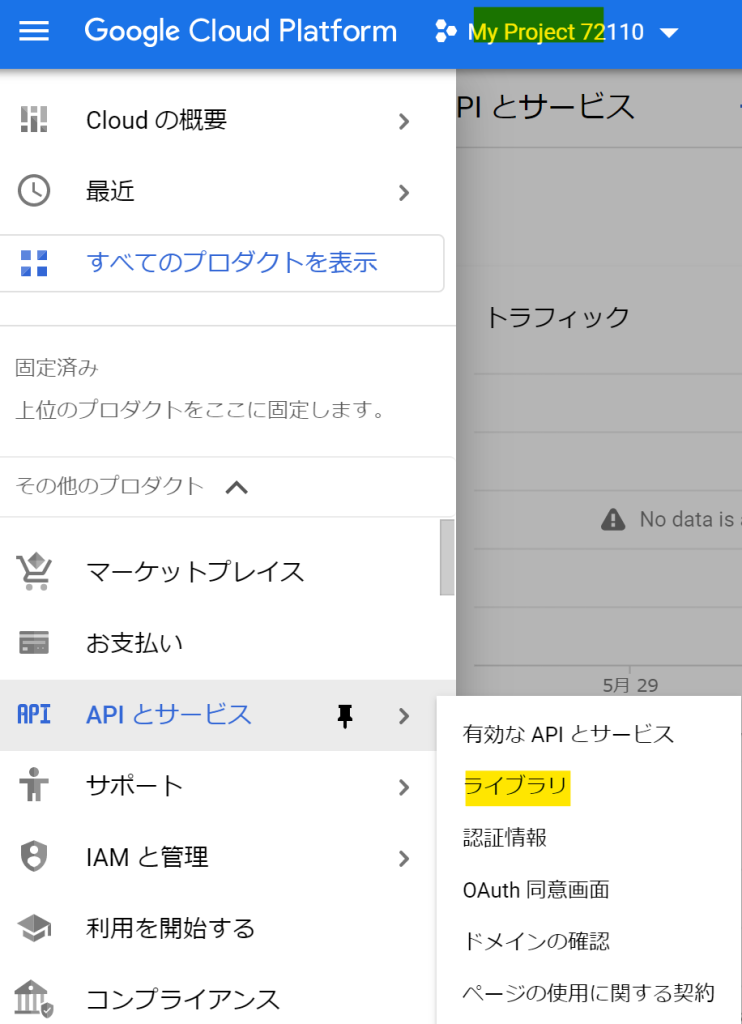
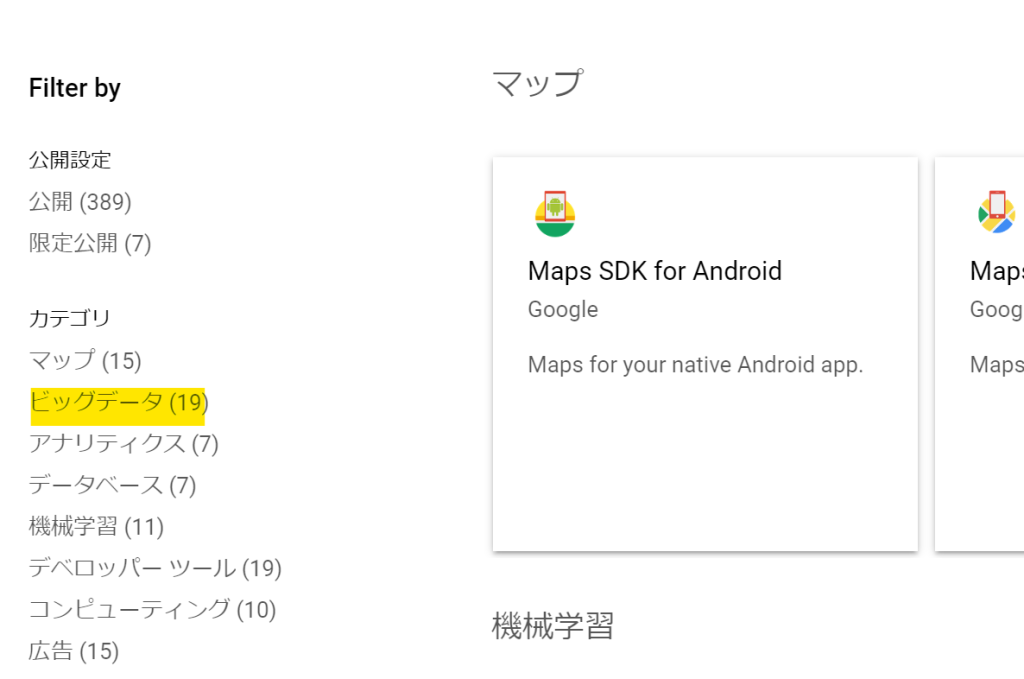
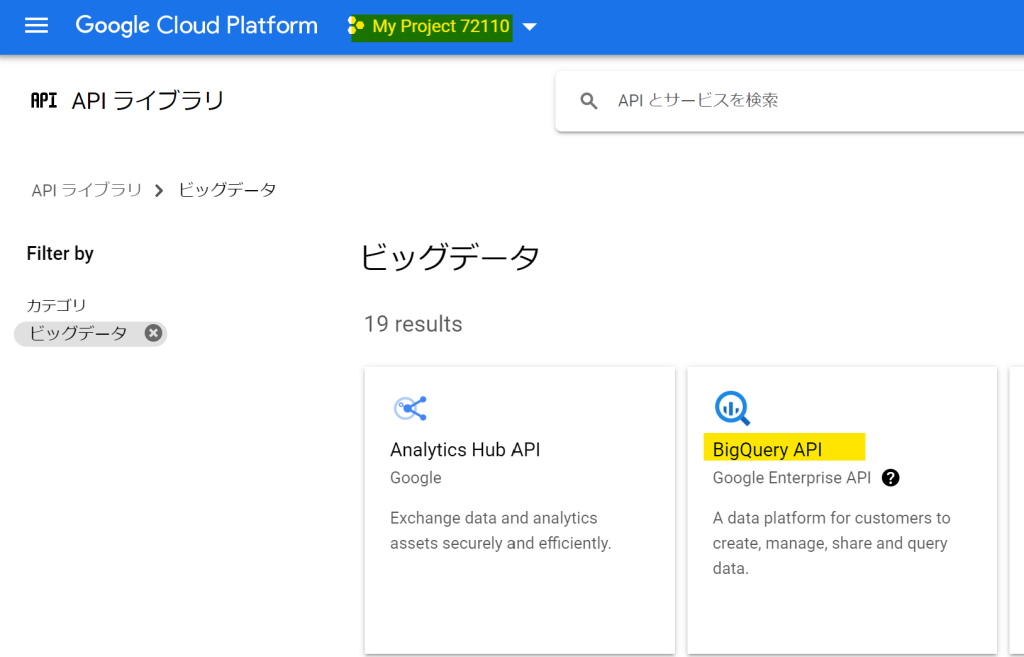
ビッグデータ
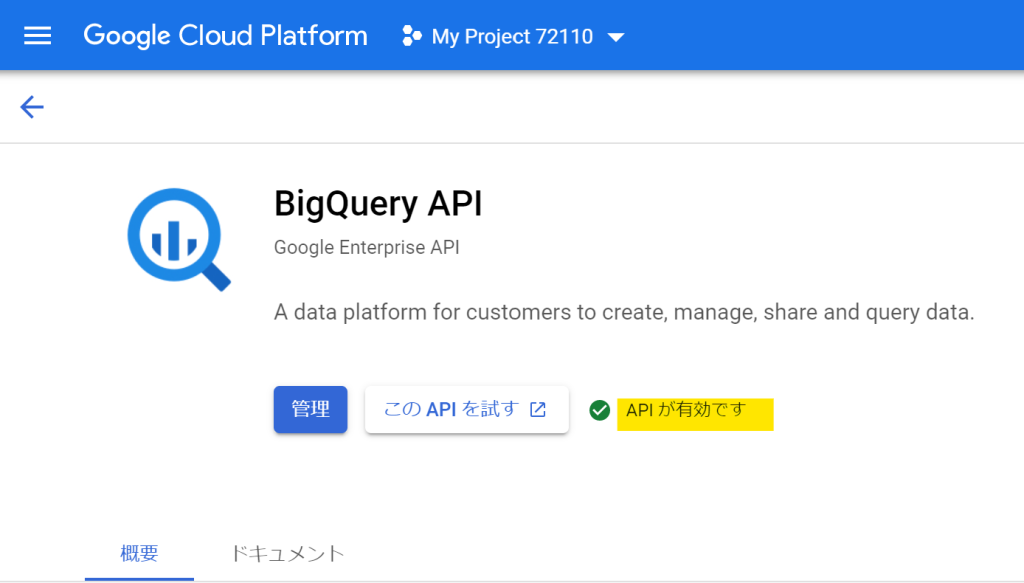
BigQuery API
BigQuer API を有効化
「APIが有効です」と表示されていれば完了です。
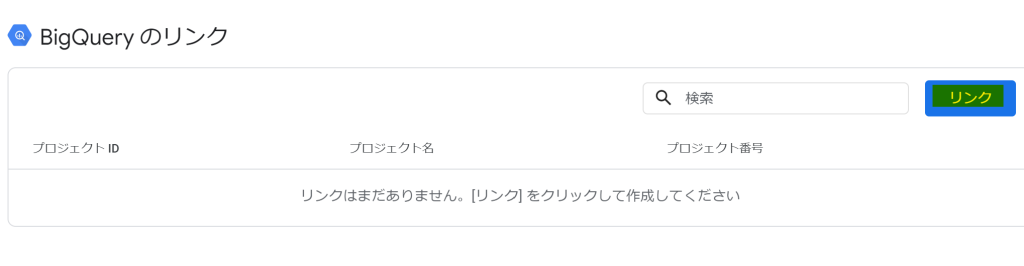
GA4の管理画面
「BigQueryのリンク」をクリック

BigQueryの「リンク」をクリック
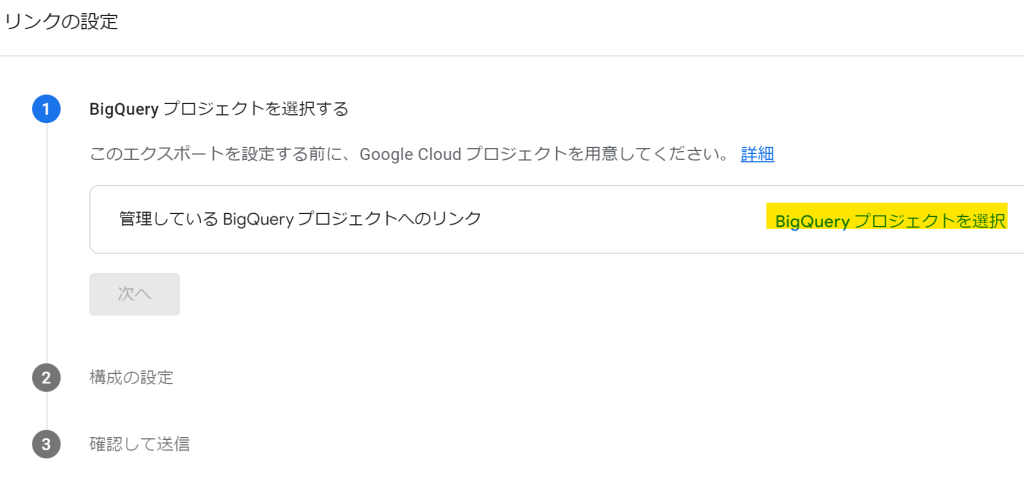
「BigQueryプロジェクトを選択」をクリック
確認をクリック

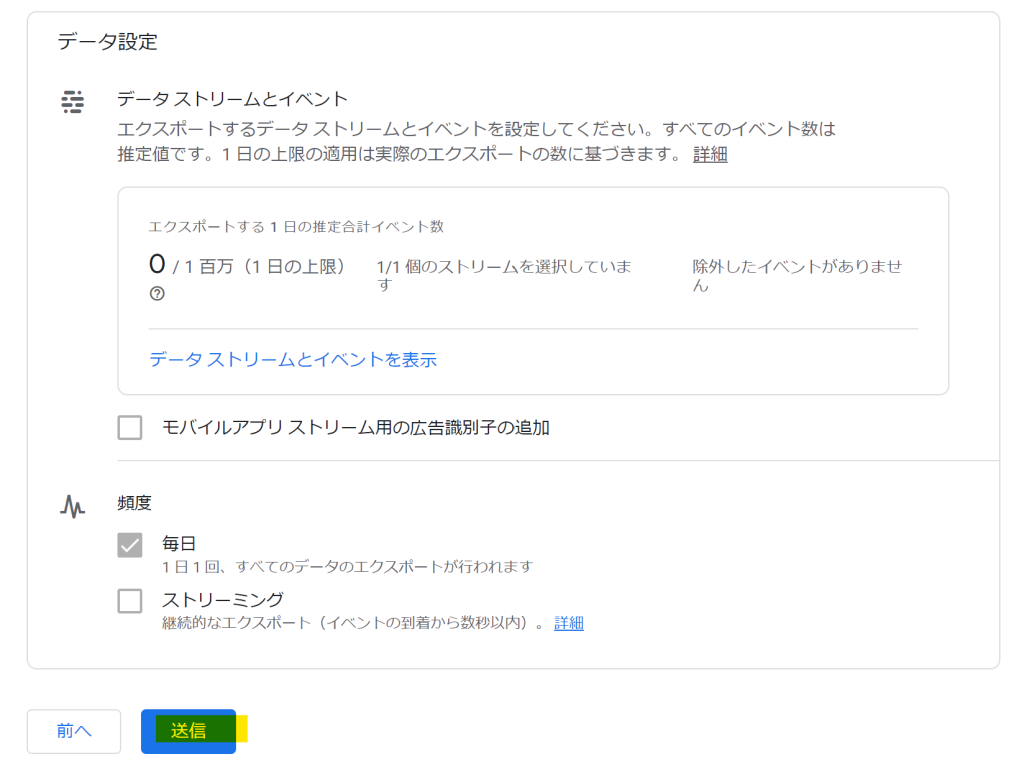
データのロケーション指定
*ここでは例として「米国」
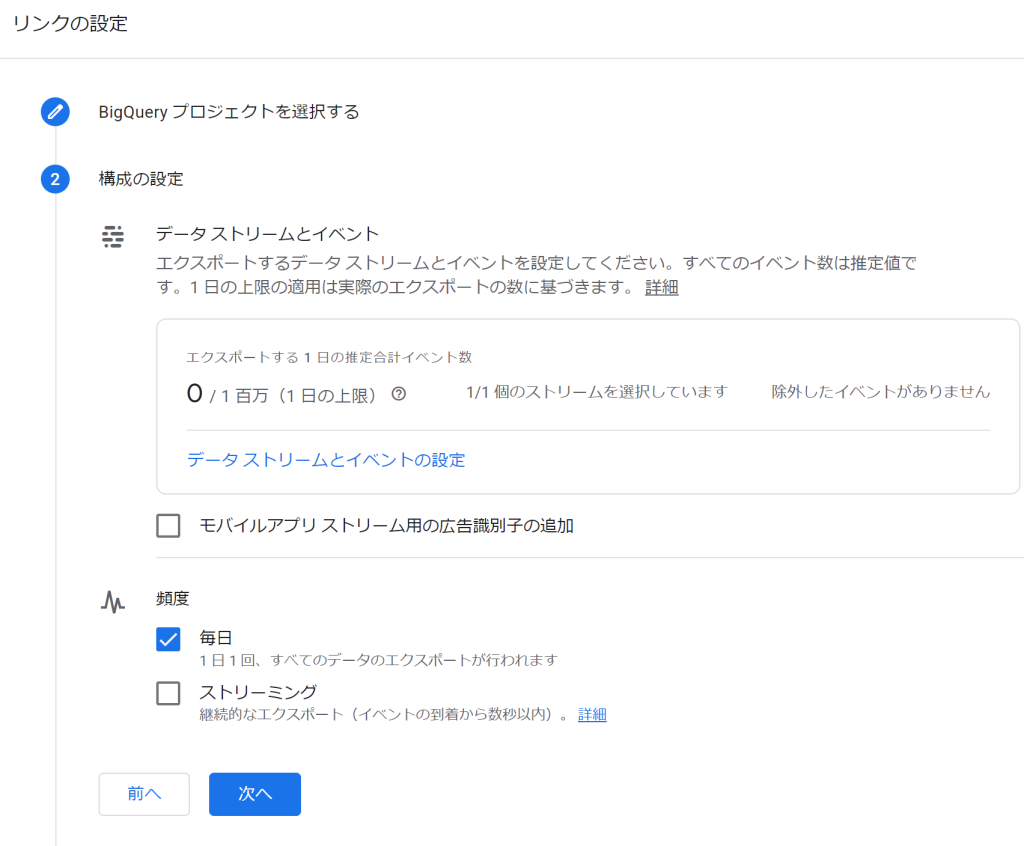
頻度設定
ここでは「毎日」で設定した。
* 「ストリーミング」にチェックを入れていると、料金が割高になる。
送信
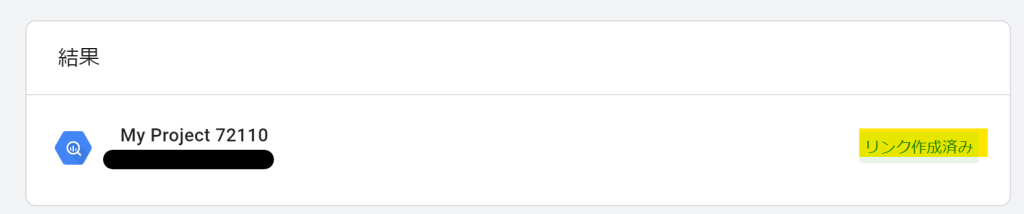
完了(リンク作成済表示)
以上です。